

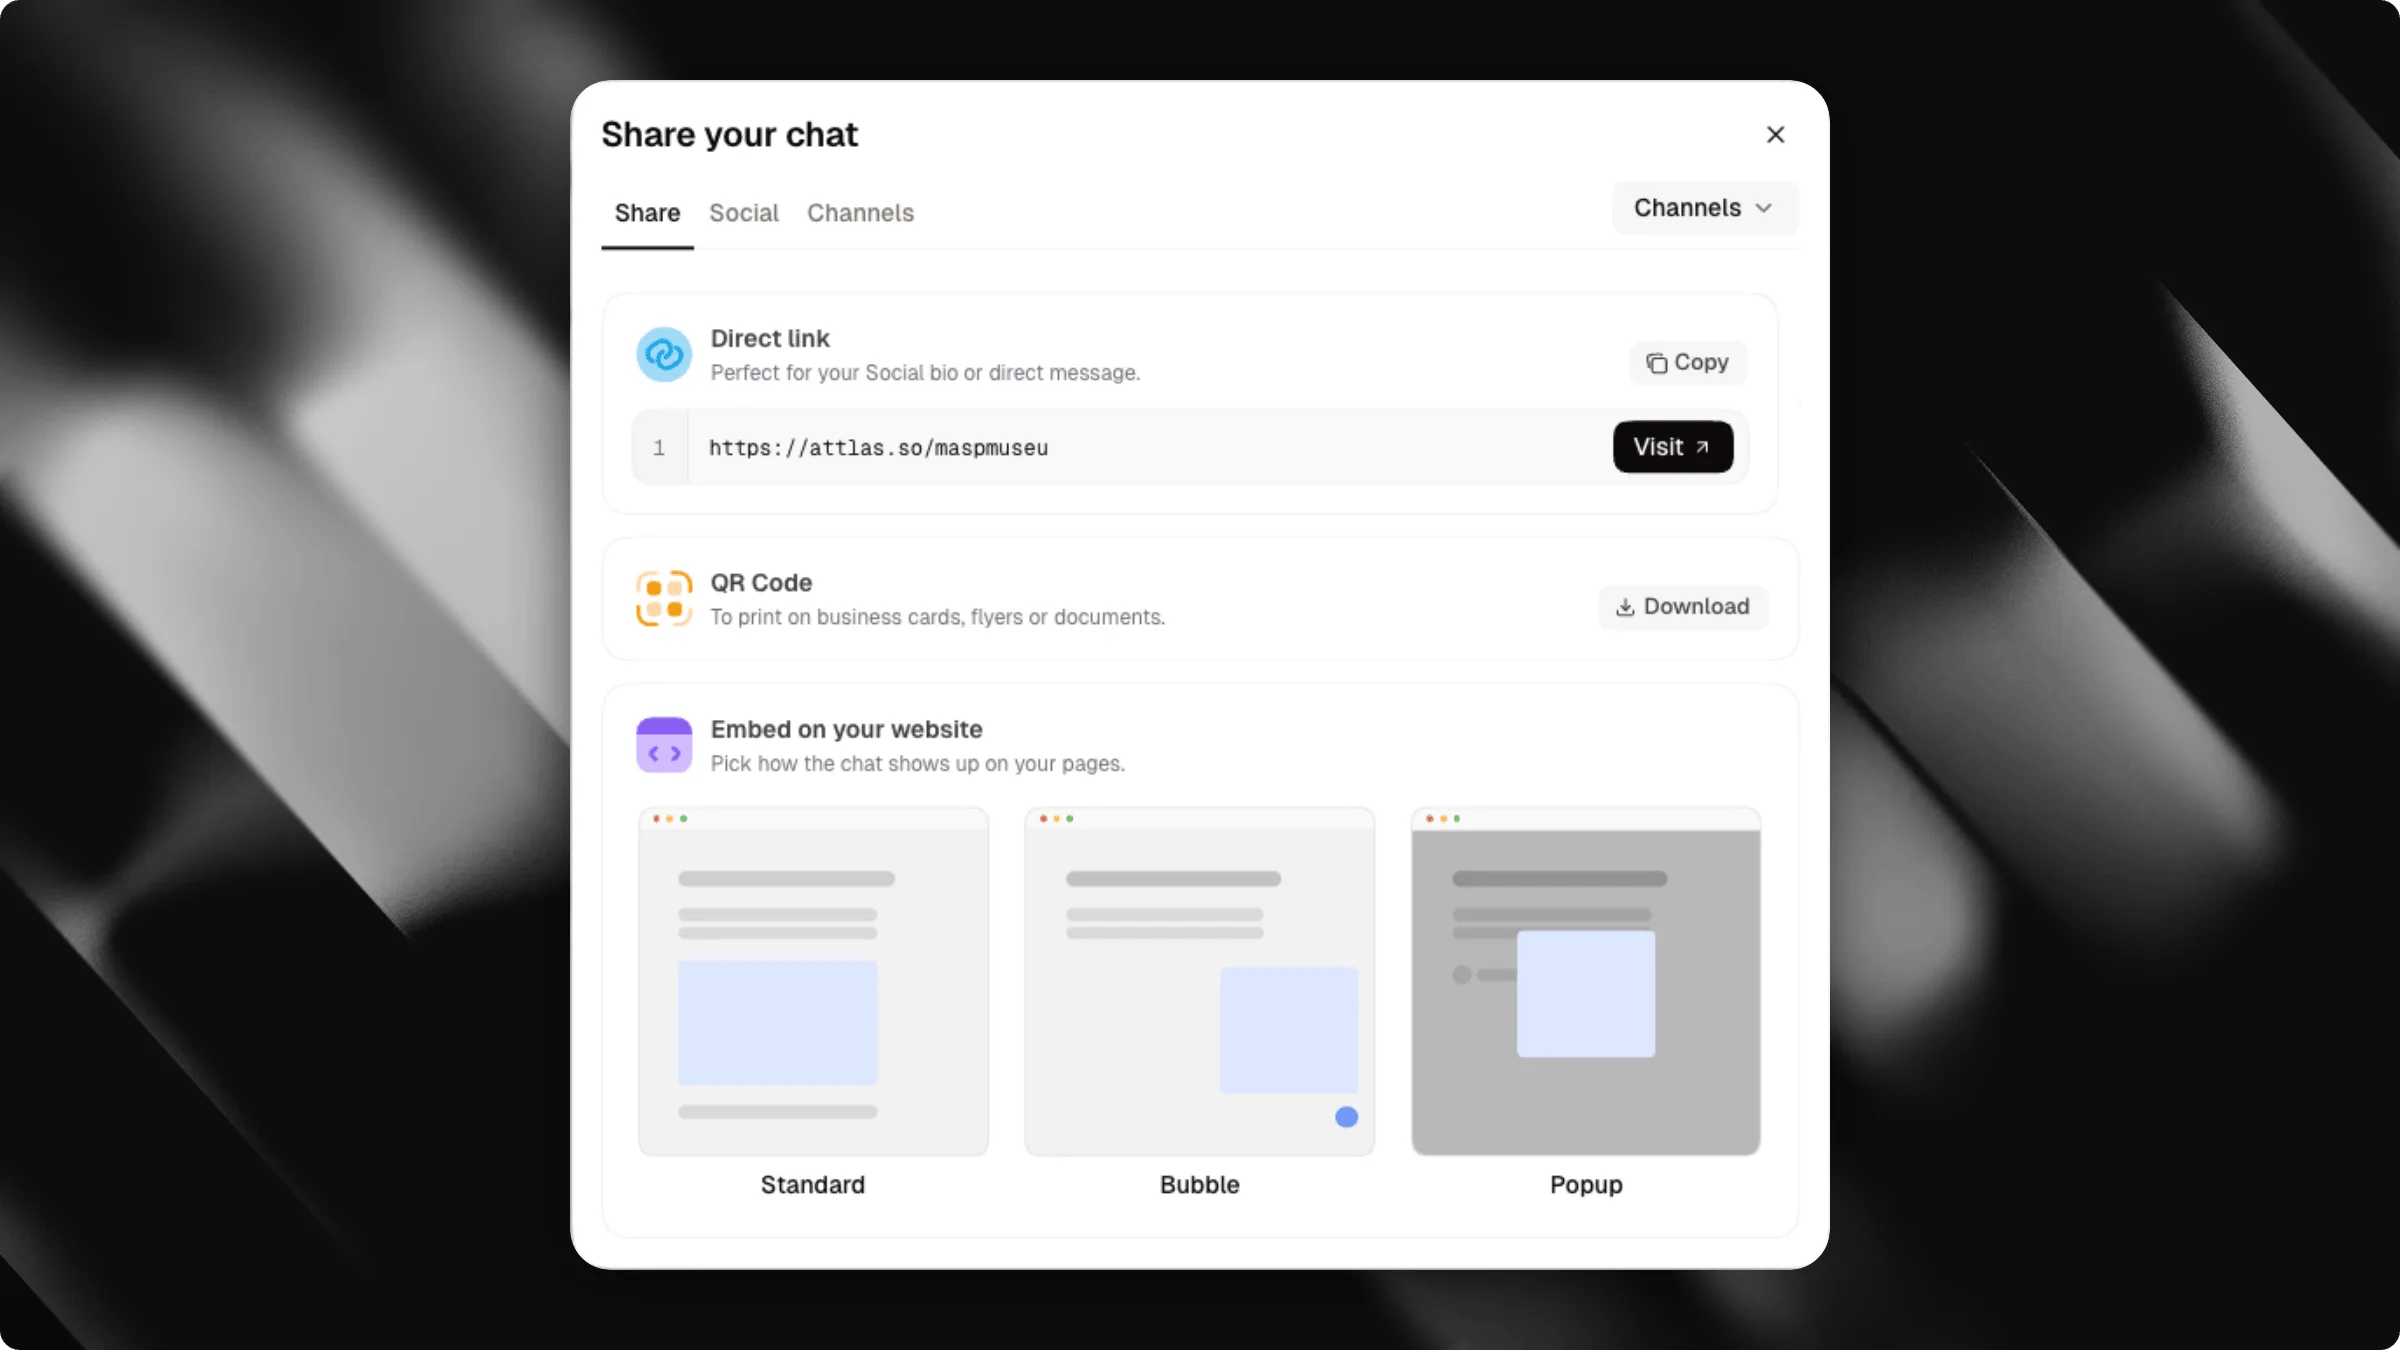
Sharing options
Here are the 3 main ways to share your chat:- Direct link: Perfect for social media, emails and messaging apps.
- Scan & Chat (QR Code): Ideal for printed materials and physical locations.
- Embed on your website: Three modes, Standard (inline), Bubble (floating button) and Popup (opens from your own button).
Direct link
The direct link lets you share a full-page version of your chat. You can use it across various platforms:- Social media: Share links directly in posts or bio links (Instagram bio, LinkedIn, Linktree).
- Messaging: Send directly via WhatsApp, SMS, or Telegram.
- Email: Add to newsletters, campaigns, or email signatures.
- Promotional materials: Add to presentations, PDFs, or documents.
Scan & Chat (QR Code)
Connect the physical world to your AI chat by generating a custom QR Code. It is highly effective for:- Printed materials: Business cards, flyers, catalogs and booklets.
- Physical locations: Restaurant menus, tables, packaging, or posters.
- Events: Banners, trade show stands and presentations.
If you change your username in the Profile section, you will need to generate and download a new QR Code.
Embed on your website
The Embed on your website option puts your chat on your own pages. Pick one of three modes, preview it live, then copy the code.
Switch between modes at the top of the panel. Click Get the code to see the snippet, or Back to preview to return.
The bubble and the popup are available on the Attlas Starter and PRO plans. On the Free plan, the panel shows an Upgrade button instead of the code.
Options
Standard
Paste the code where the chat should appear: a help center, a documentation site, a support portal or a Notion page.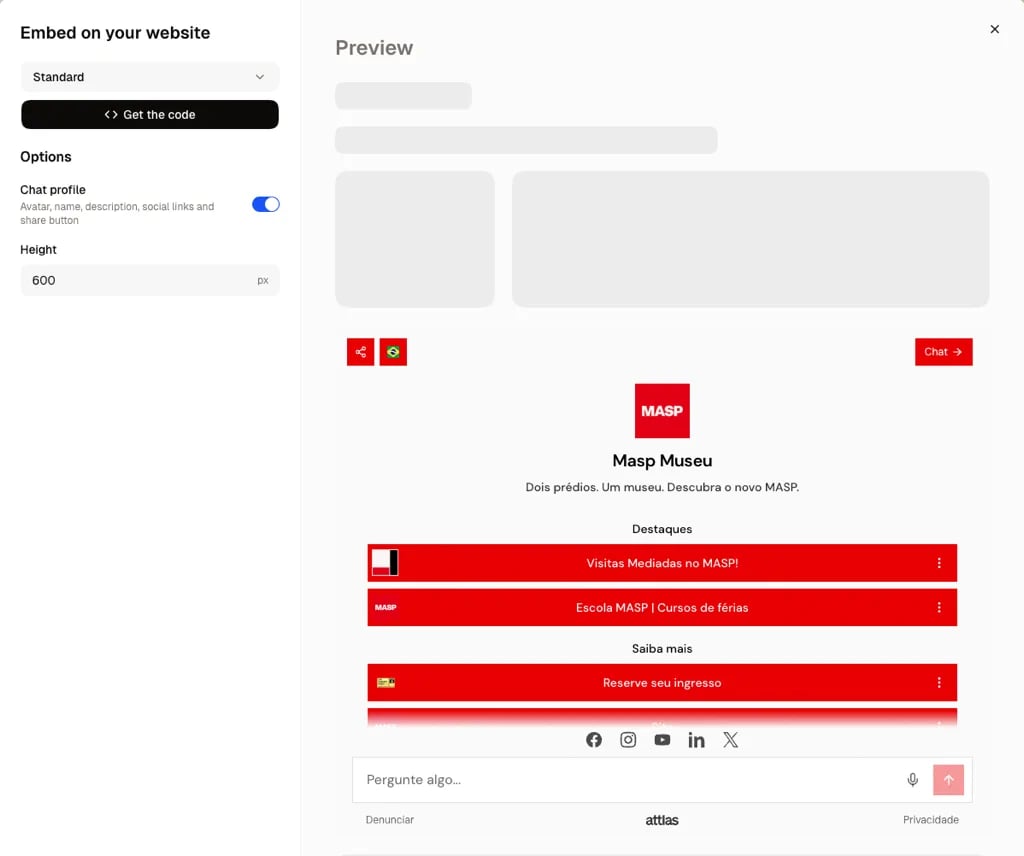
Bubble
Paste this tag at the end of every page that should show the bubble: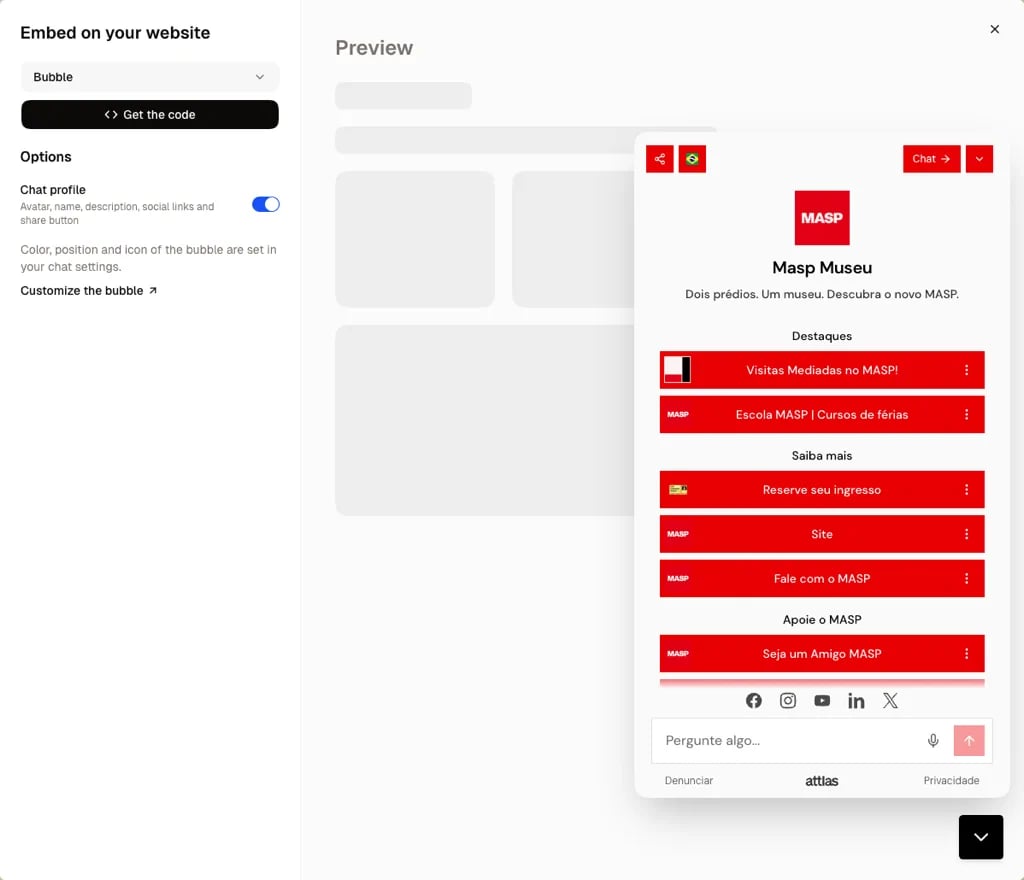
Popup
The popup has no button of its own. You choose what opens it, so it fits your design. 1. Add the script once, at the end of your page: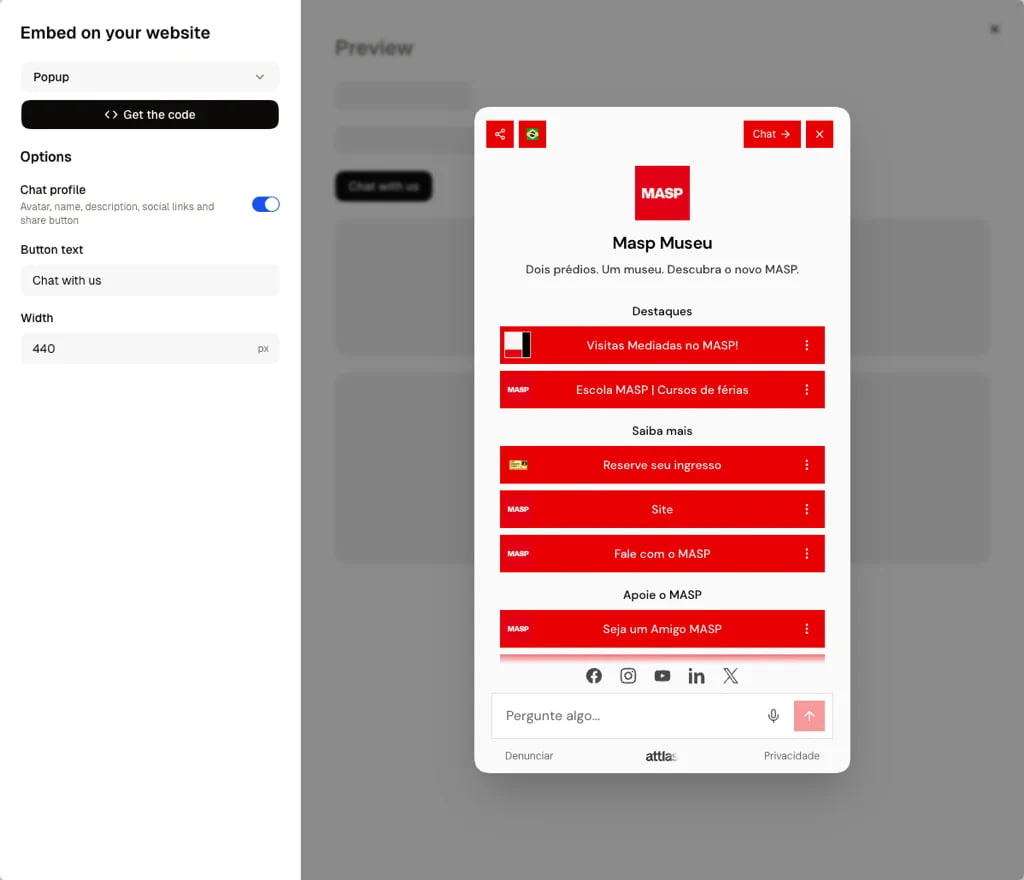
data-attlas-open attribute opens the chat: a button, a div or an image.
Domain whitelisting
To protect your quota and make sure the chat only loads on your own website, restrict the domains allowed to run the script.
- How it works: In the Allowed domains section under the Bubble and Popup code, add the domains you use (for example
mywebsite.com). The script only starts on these domains. - No domain listed (default): The script works on any domain, which is handy for local testing.
Distribution channels
The Distribution tab in the Share panel lets you create named channels to track where your conversations are coming from, for example, distinguishing users who arrived via your website from those who came through a newsletter or a QR code at an event.What is a channel?
A channel is a label you define (e.g.website, newsletter, event-june). When you select it in the Share tab, Attlas automatically appends an ?origin=<channel> parameter to every share method you copy:
This lets you see in your analytics which channel drove each conversation.
Creating a channel
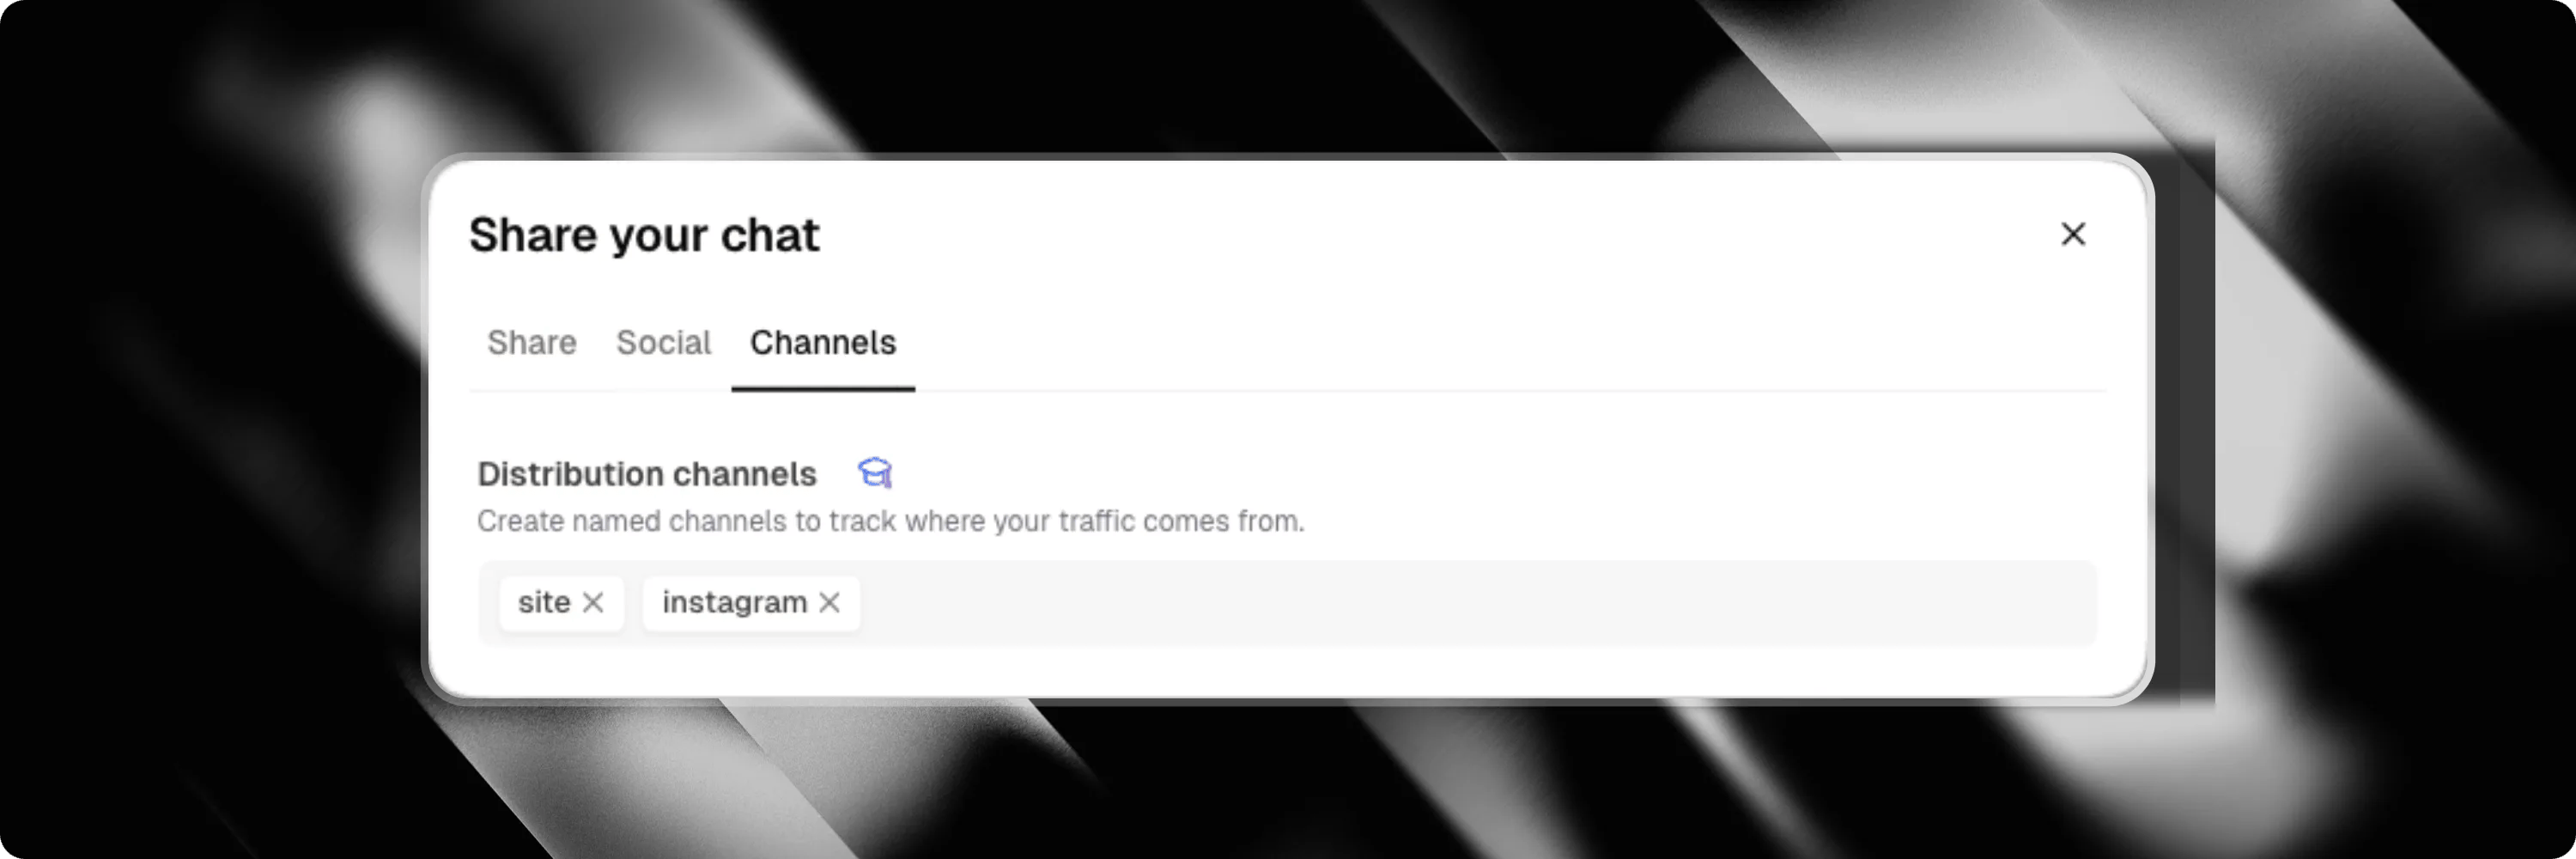
- Open the Share panel and switch to the Distribution tab.
- Click in the channel input field and type a name (e.g.
newsletter), then press Enter to add it. - Repeat to add as many channels as you need.
- Channels are saved automatically, no extra confirmation needed.
Channel names are slugified automatically: spaces and special characters are converted to hyphens and lowercased (e.g.
My Blog Post → my-blog-post).Using a channel when sharing
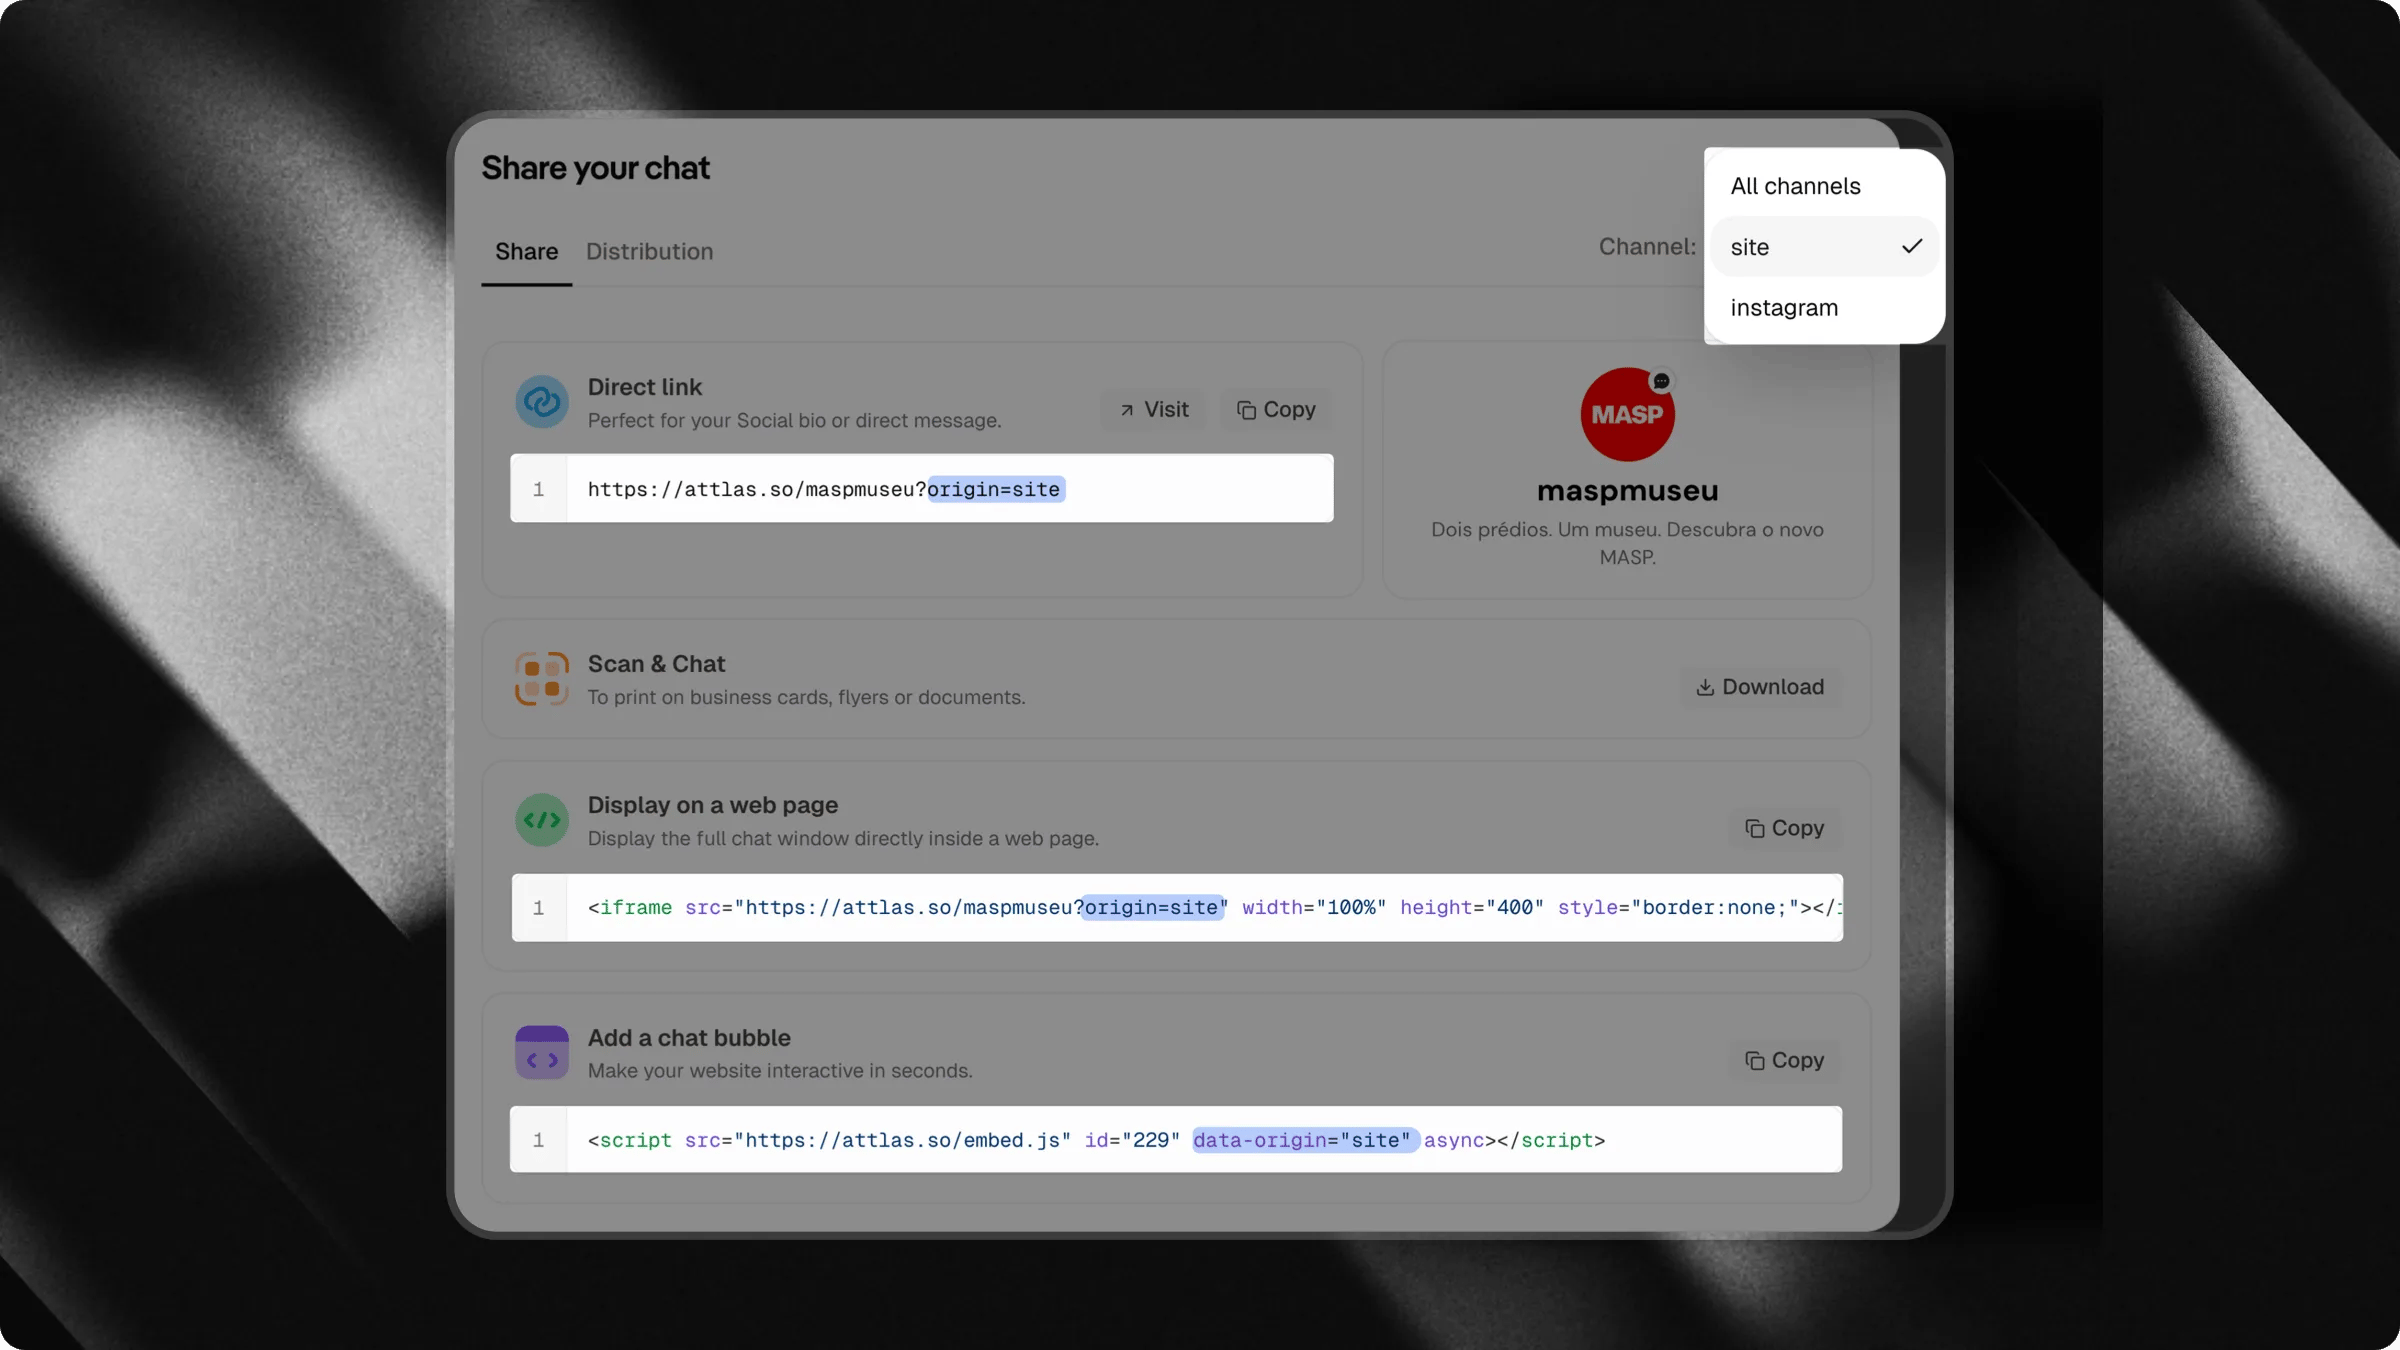
- Switch back to the Share tab.
- If you have channels defined, a dropdown appears at the top of the tab.
- Select the channel that matches the destination you are sharing to.
- Copy the link or the embed code, the
originparameter is already included.
Which option should you choose?
Each sharing method serves a different purpose:
You can use one or several of these options at the same time, creating more opportunities for users to interact with your chat.