

Workspaces
Workspaces act as independent environments for organizing your chats. Think of them as folders or separate workspaces for different projects.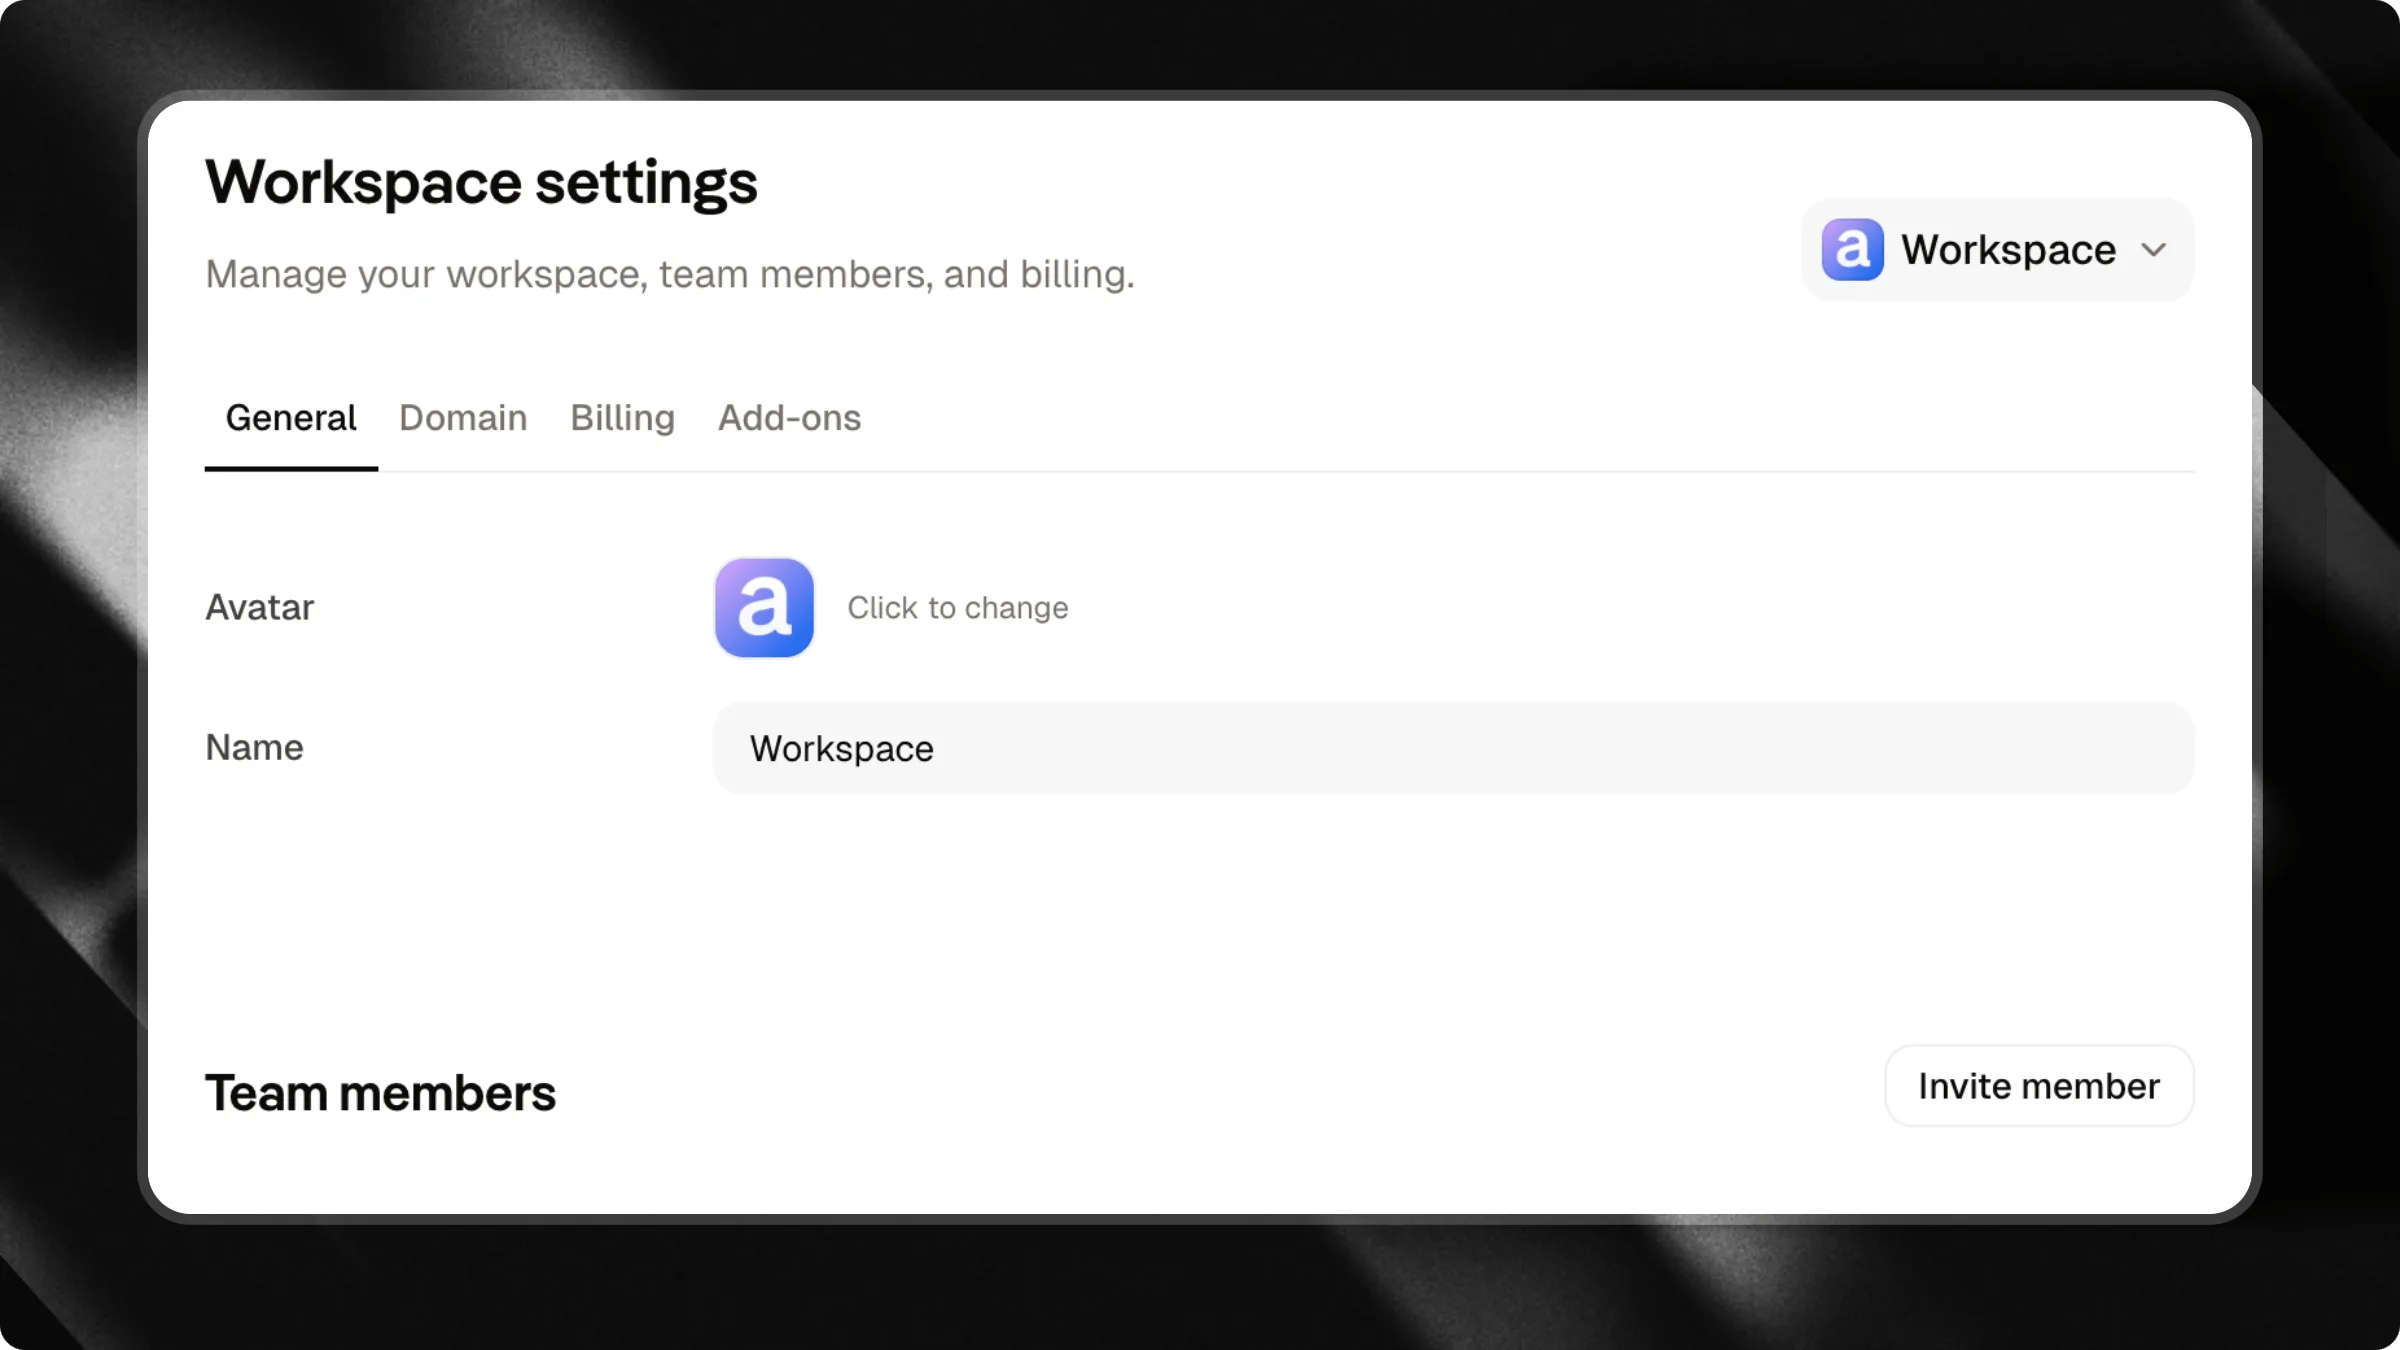
Why use workspaces?
Workspaces help you separate clients, projects, teams, or areas of work.Examples
Agencies and freelancers
You can create:- One workspace for each client
- One workspace for internal projects
- One workspace for testing and experiments
Content creators
You can separate:- Public chats for your audience
- Course and training chats
- Personal projects
- Professional projects
Businesses
You can organize:- Customer support
- Marketing
- Internal training
- Knowledge bases
How to create a new workspace

- Click the Workspace selector in the sidebar
- Click Add new workspace
- Choose a name for the new workspace
- Start creating chats inside it.
Teams
In addition to organizing your chats, you can also collaborate with other people. Attlas allows you to invite members to view or edit specific chats.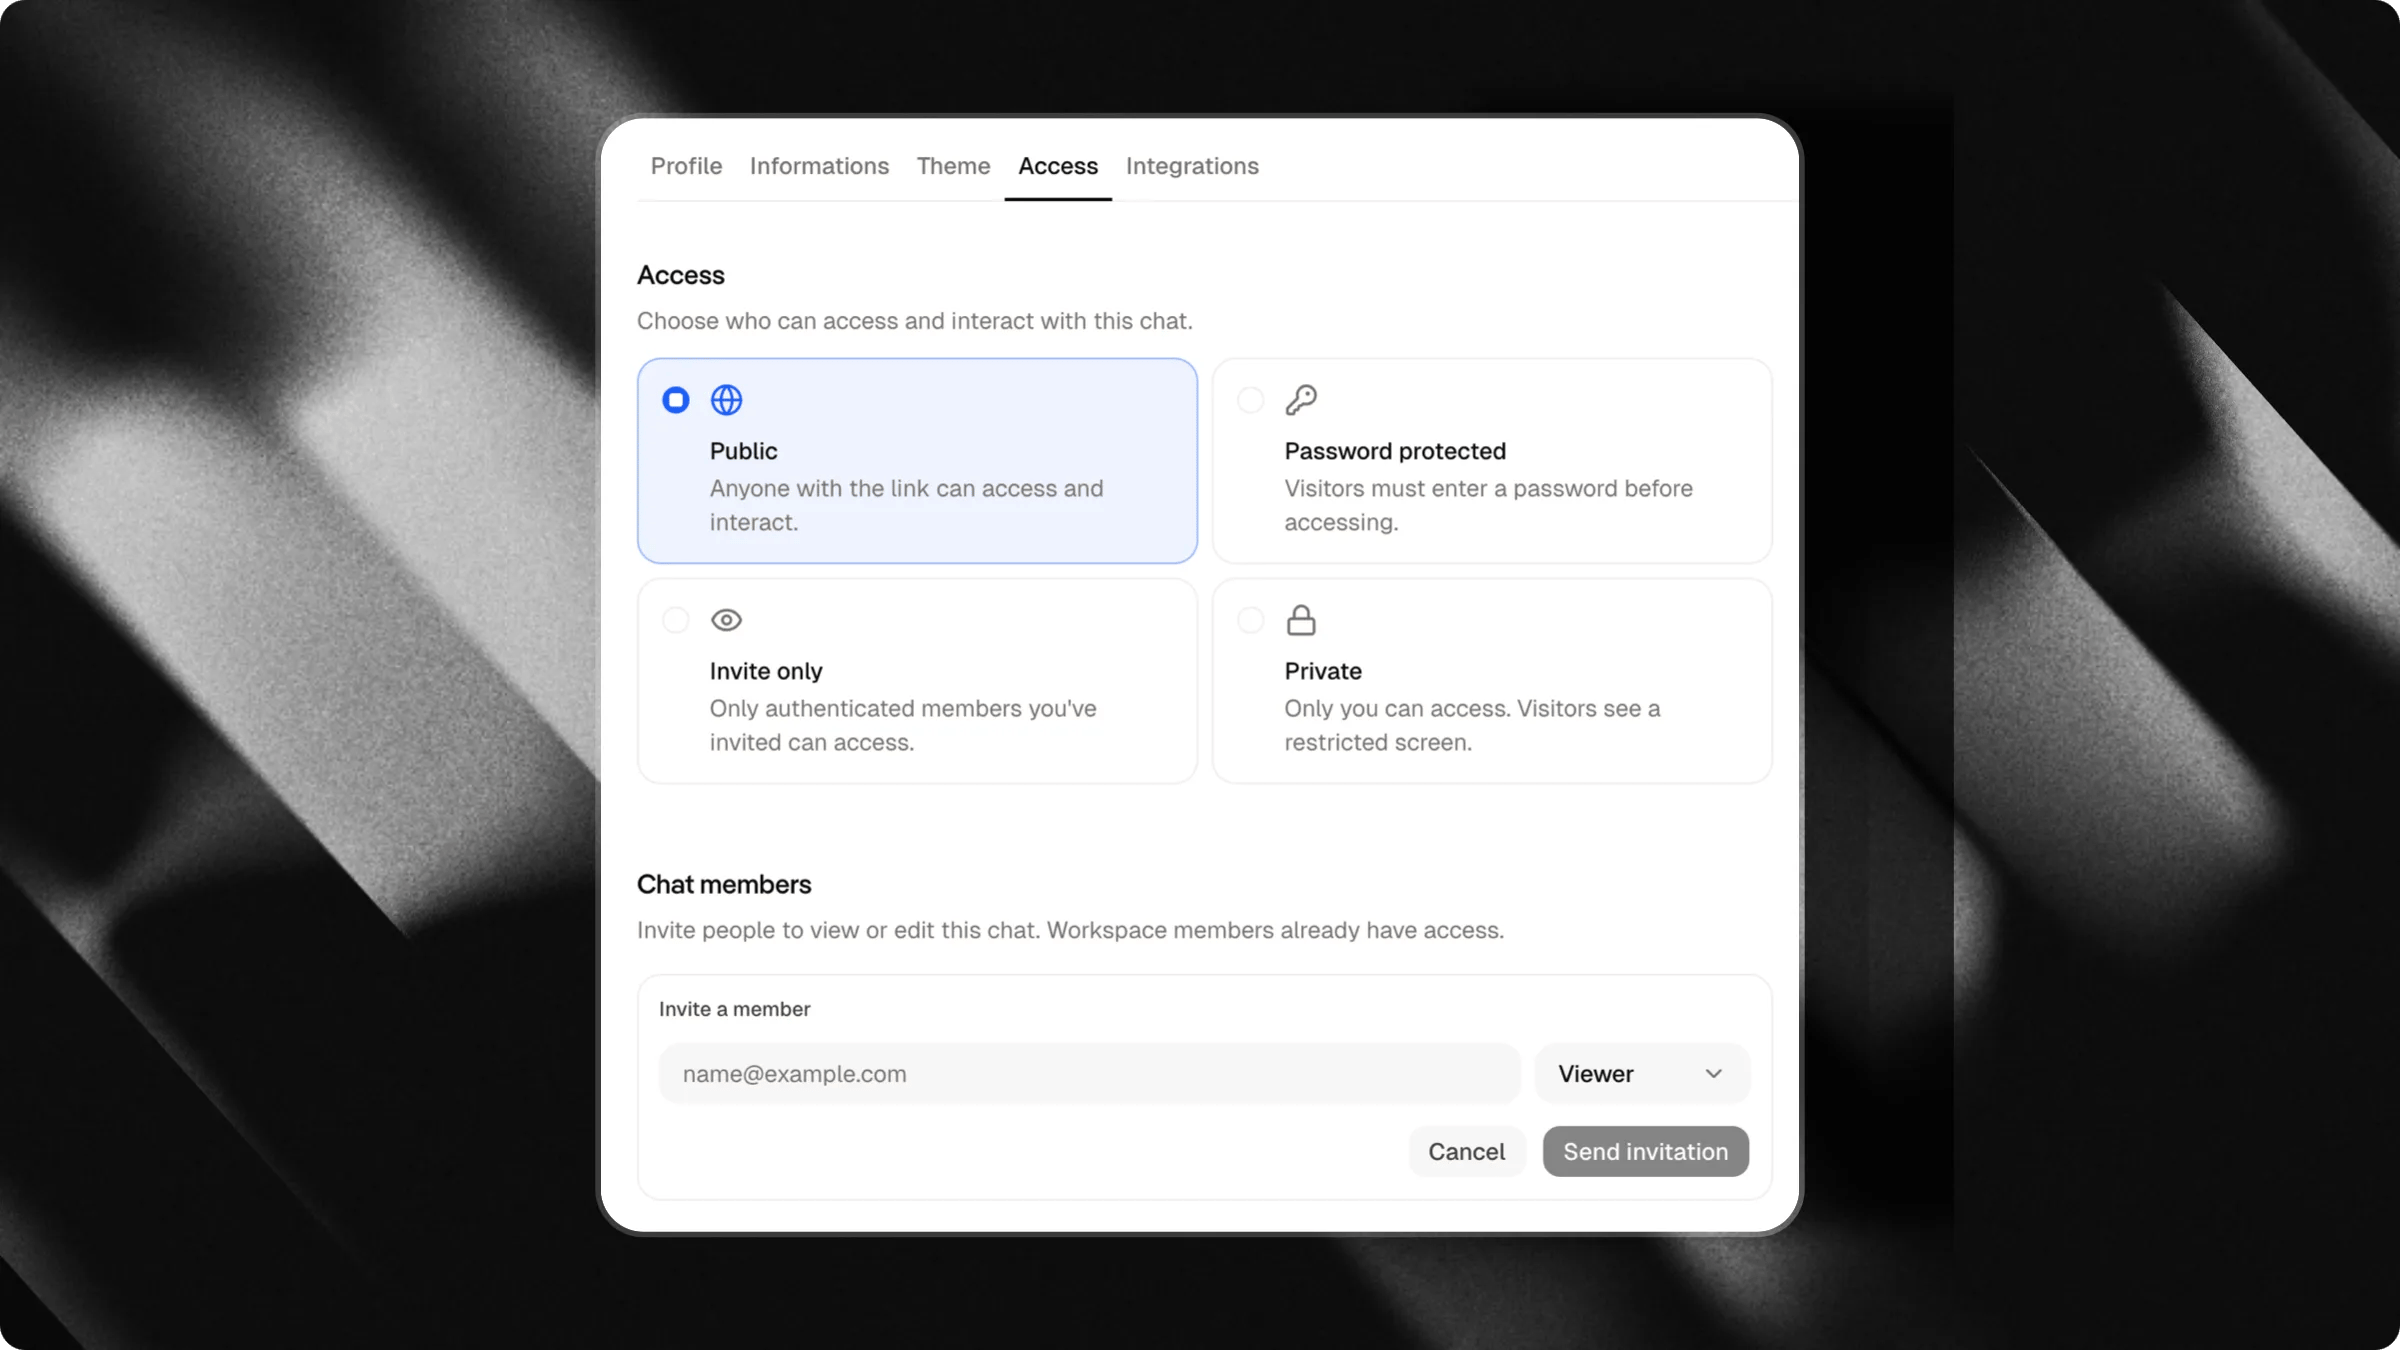
How to invite members
To invite someone to a chat:- Open the desired chat
- Go to Settings → Access
- Scroll down to the Chat Members section
- Enter the person’s email address
- Select the appropriate permission level
- Click Send Invitation
Permission types
When inviting a member, you can define their level of access.Editor
Can:- Edit the chat
- Manage content
- Change settings
- Collaborate on chat development
Viewer
Can:- View the chat
- Follow content updates
- Review information
Collaboration scopes: Workspace vs. Chat
Attlas supports two ways to collaborate with your team, depending on the level of access you want to grant:Workspace-level invitations
You can invite members to an entire workspace, which is the best option for core team members.- Access: Members get access to all chats belonging to the Workspace, including any new chats created in the future.
- How to invite:
- Open the Workspace selector in the sidebar.
- Click the settings icon (gear) next to the workspace you want to share.
- Under the Members tab, enter the member’s email.
- Select the permission level (Editor or Viewer).
- Click Send Invitation.
Chat-level invitations
If you want to collaborate with clients, external partners, or guest contributors, you can invite them to specific chats only.- Access: Members can only view or edit the specific chat they were invited to. They will not see or access other chats within the workspace.
- How to invite:
- Open the desired chat.
- Go to Settings → Access.
- Scroll down to the Chat Members section.
- Enter the person’s email address.
- Select the appropriate permission level.
- Click Send Invitation.
Chat access control
Inside
Settings → Access, you will also find the chat visibility options.- Public: Anyone with the link can access the chat
- Password Protected: Visitors must enter a password before accessing the chat
- Invite Only: Only invited users can access the chat
- Private: Only you can access the chat